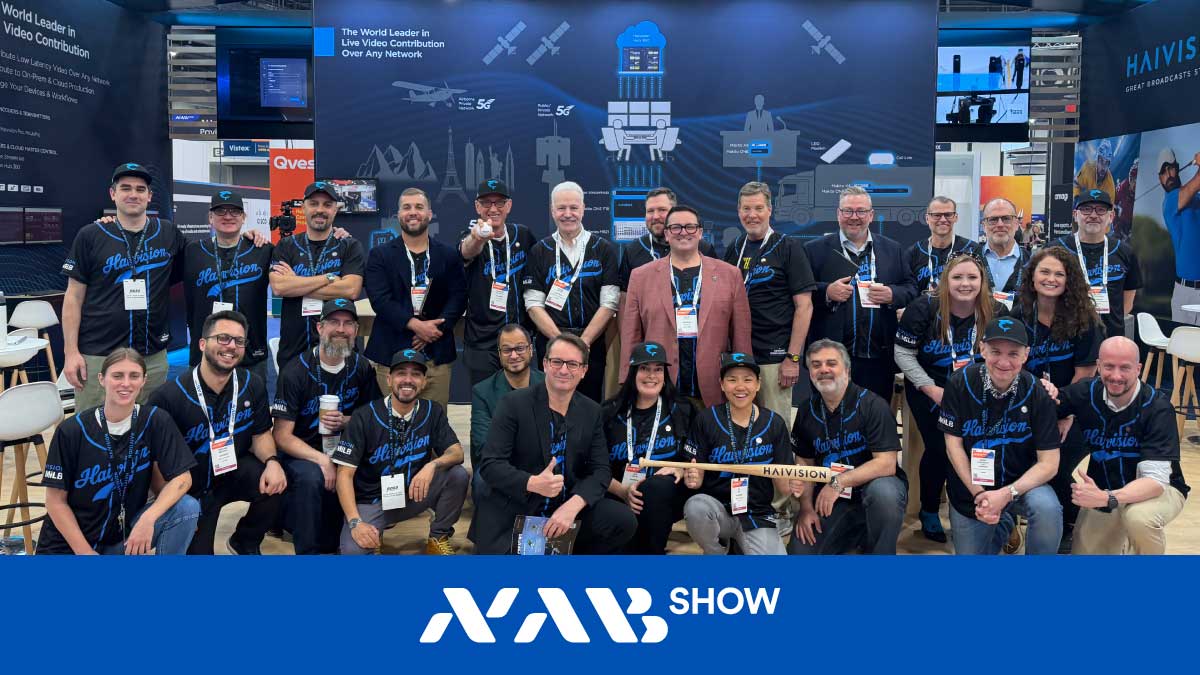
Discover Haivision’s latest innovations at the 2026 NAB Show, including Makito ONE, Falkon X4, and new workflows for flexible, ultra-low latency live video.
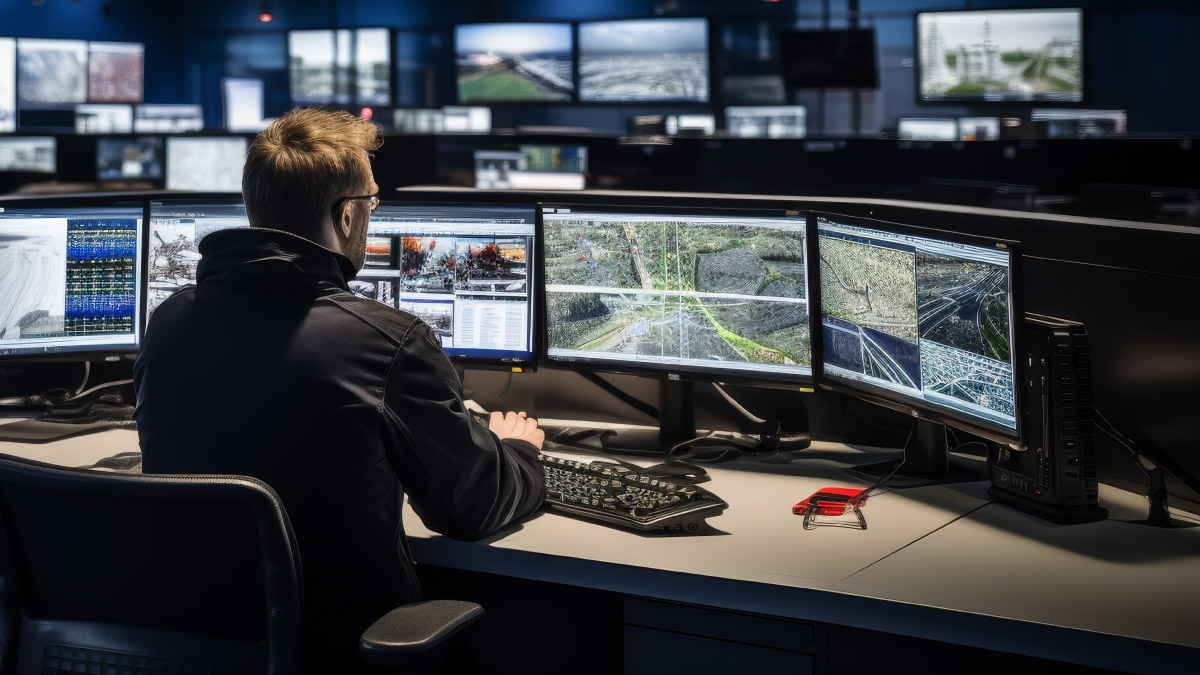
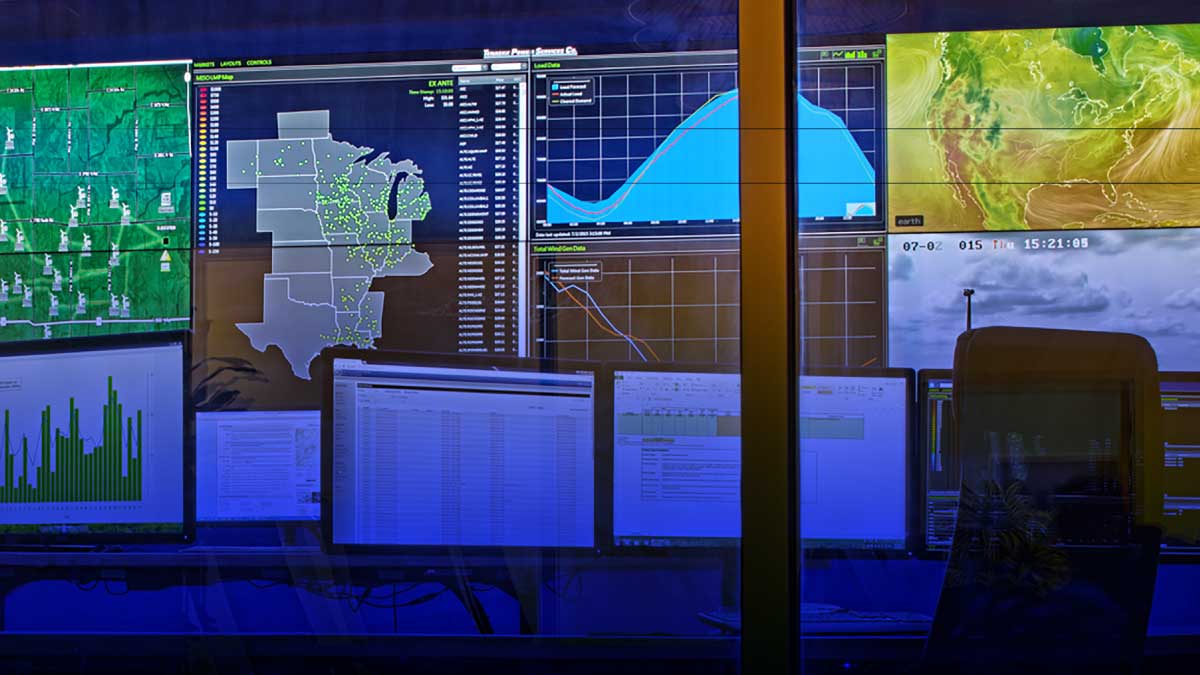
Explore video wall installation best practices to ensure long-term success, from planning and integration to scalability and performance in control rooms.
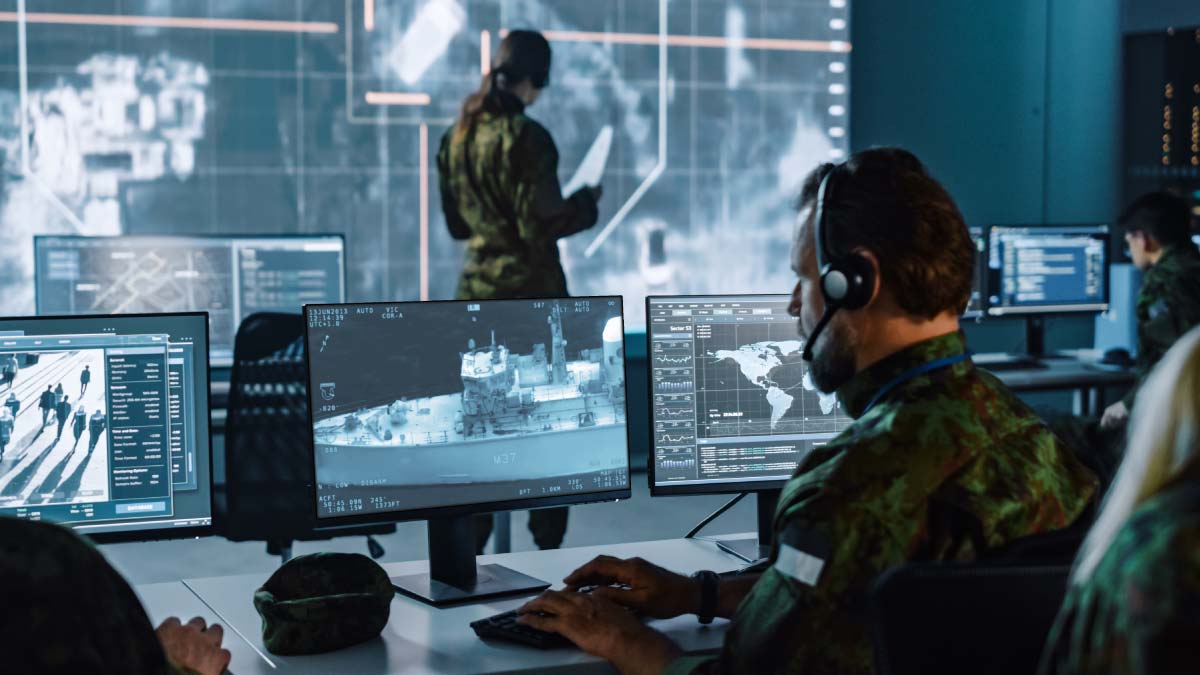
Learn the fundamentals of Haivision Video Wall Solutions, including technology’s role in real-time visualization for enterprise, public safety, and government.