Are you new to configuring SRT streams? We’ve put together this quick guide to help you learn the basics of how to configure and tune SRT settings for optimizing stream performance for your specific use case. In this blog post, we’re providing a 7-point checklist for configuring an SRT stream using any type of Haivision Makito video encoder (including the Makito X4, the Makito X1 Rugged, and Makito FX) as a source and a Makito X4 video decoder as the destination device. You can configure your Makitos, directly via the browser-based user interface – just enter the IP address – or using the Haivision Hub cloud solution for appliance management and video routing.
Let’s start off with a quick reminder of what SRT is and what it does.
SRT Fundamentals
As the public internet started to gain in availability and bandwidth, more people attempted to leverage it for streaming live video but overcoming issues around packet loss and latency proved extremely challenging. The internet is very unpredictable, and between any two points, bandwidth can vary enormously, as can the rate of packet loss, jitter due to timing issues, and latency depending on distance and routes.
SRT (Secure Reliable Transport), originally invented and open sourced by Haivision, was specifically designed to address these issues and the purpose of the protocol is very simple – to reliably get video content from point A to point B over the internet and protect it with encryption.

SRT enables streamers to tune latency all the way down to 10s of milliseconds for cross-continental video links – a critical feature that enables workflows for interactive, bi-directional interviews and remote production for example.
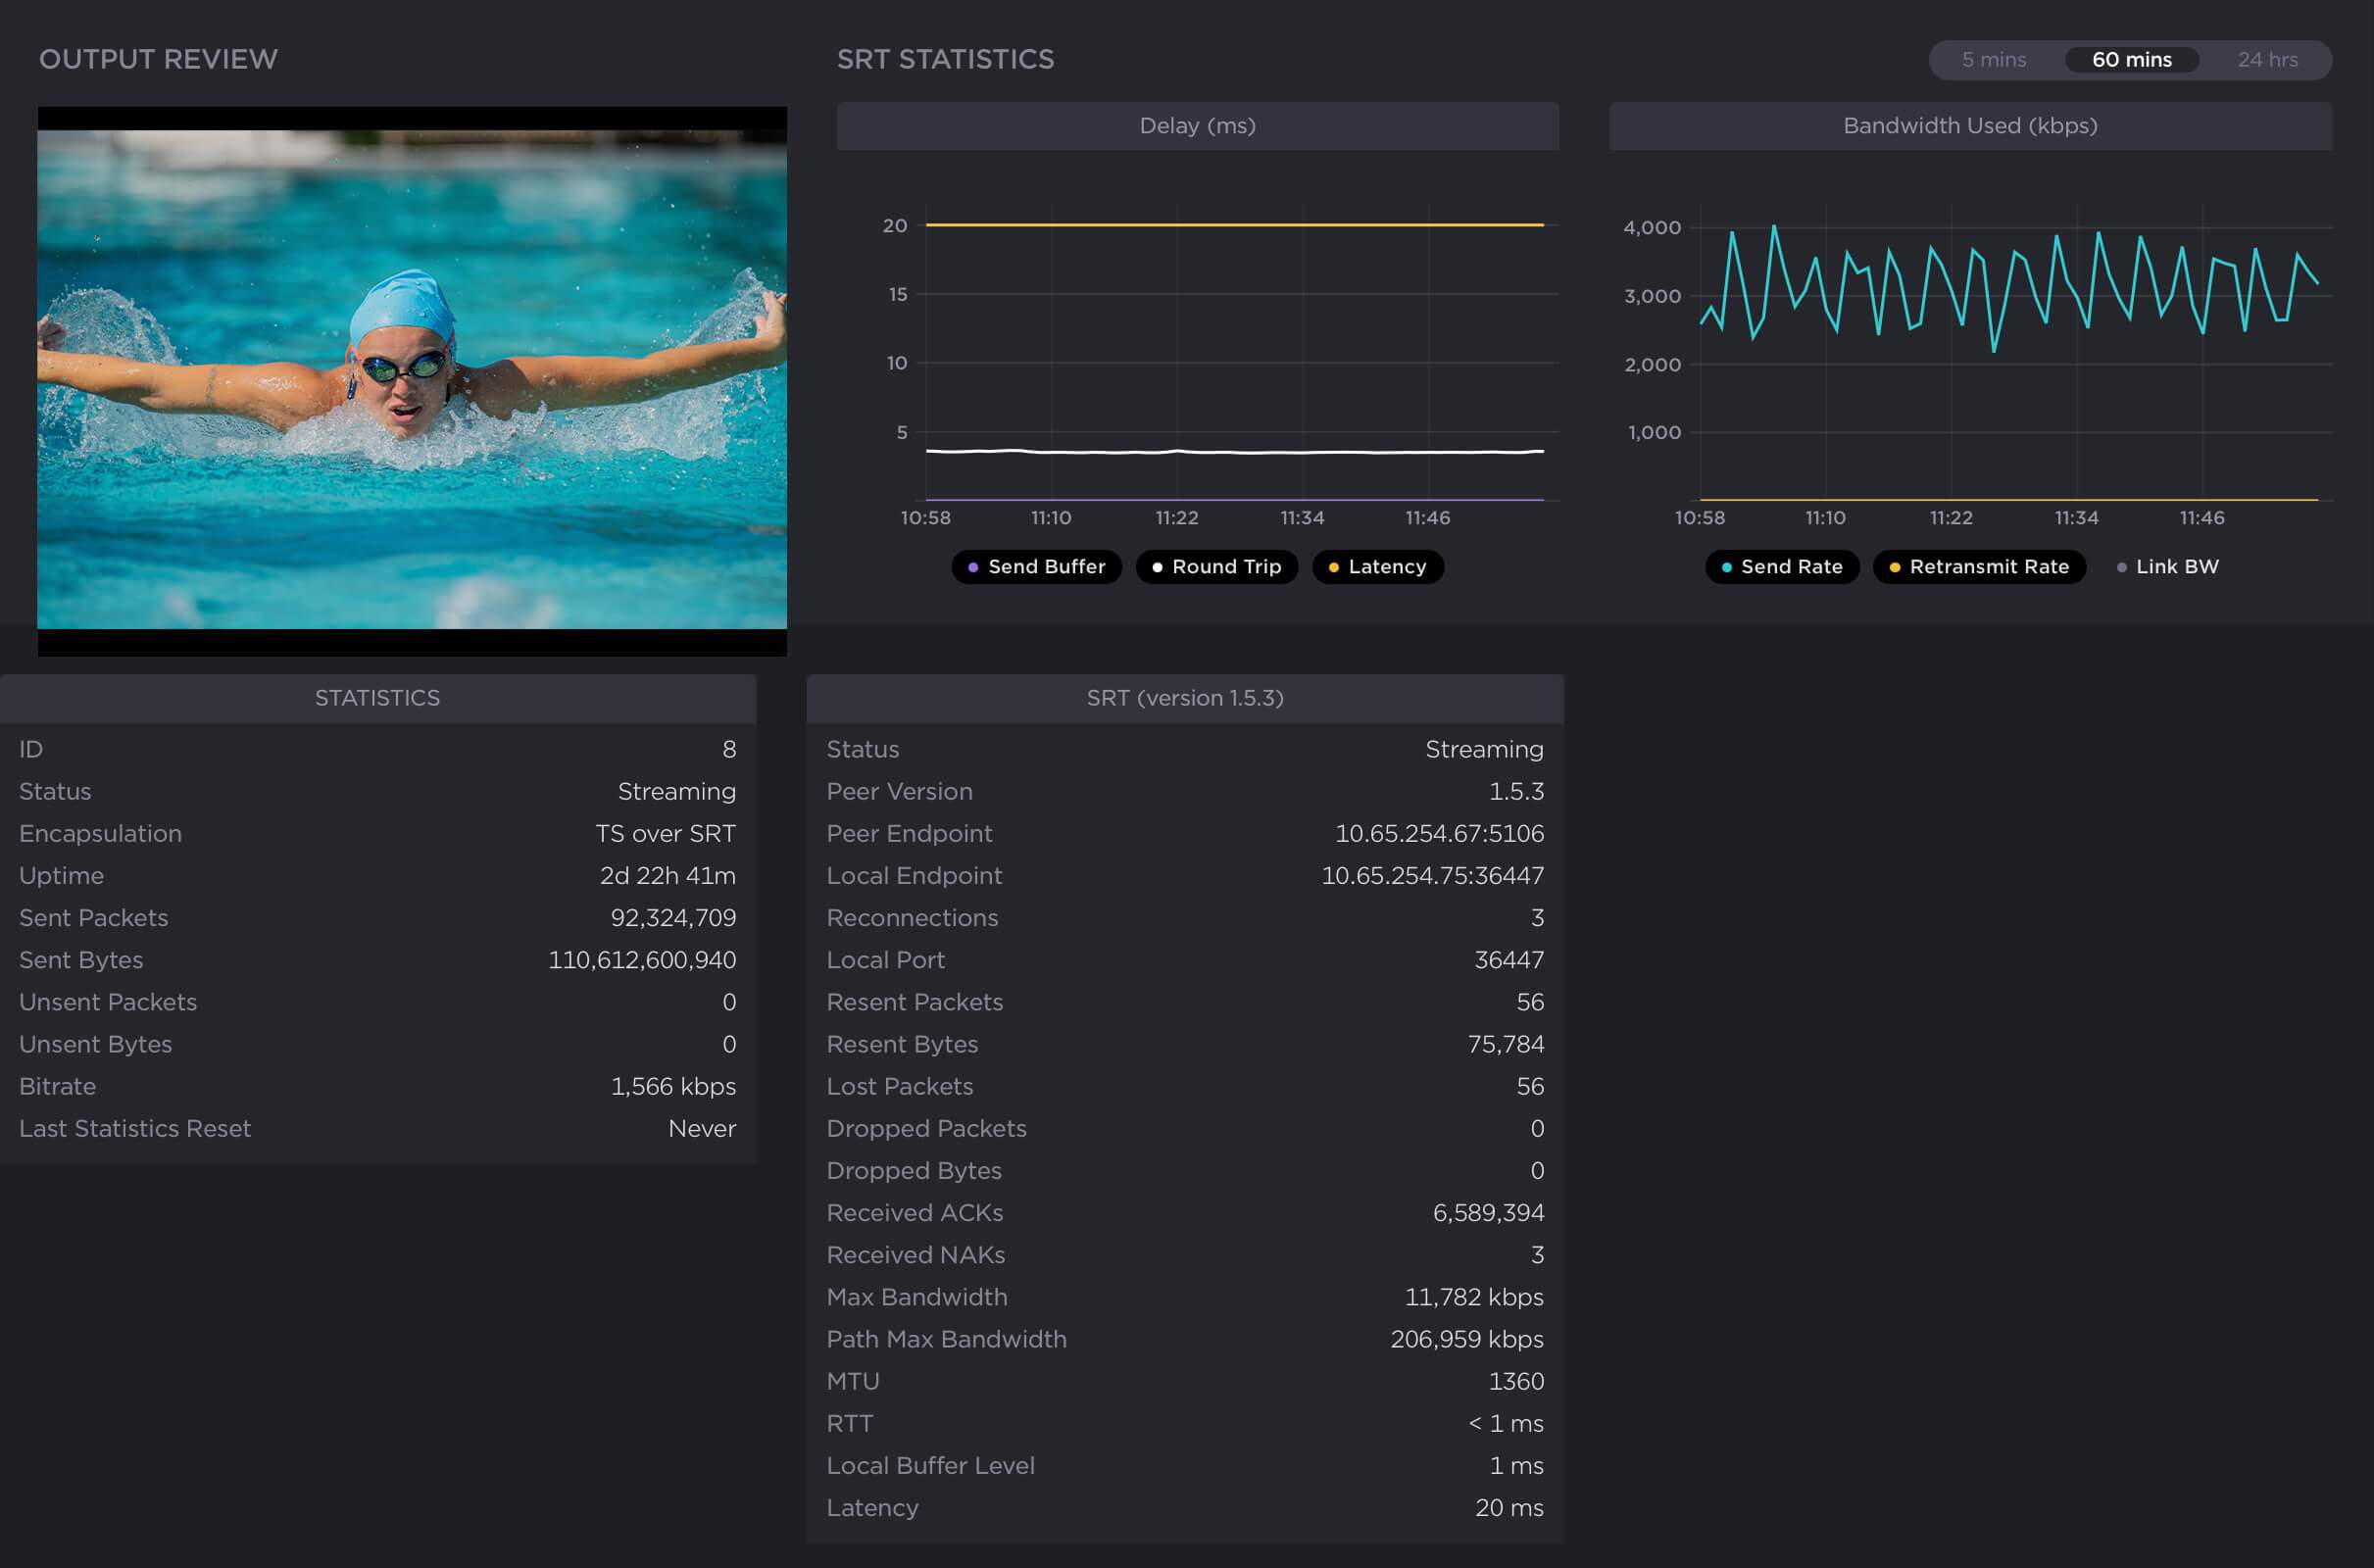
SRT Statistics: Know Your Network
Not only does SRT enable the secure transport of your video content, it constantly monitors and measures the bandwidth between the two endpoints, providing a whole host of useful statistics, from the number of lost packets to the estimated link bandwidth, latency, and round-trip time.

The statistics generated provide valuable insight into your network and stream’s conditions. Armed with a deeper understanding of these statistics, you can better tune and optimize your SRT streaming performance.
SRT Configuration and Tuning Checklist
With your source and destination devices set up – including established call modes (listener, caller, rendezvous) and firewall settings – follow these 7 steps to configure an SRT stream:
#1. Measure the round-trip time (RTT)
Also called round-trip delay, RTT (measured in milliseconds) is the time required for a packet to travel from a source to a specific destination and back again. RTT is used as a guide when configuring bandwidth overhead and latency.
To determine the RTT between two devices, you can use the ping command or, if ping does not work or is not available, set up a test SRT stream and use the RTT value from the statistics page.
If the RTT is <= 20 ms, then use 20 ms for the RTT value. This is because SRT does not respond to events on time scales shorter than 20 ms.
#2. Calculate the packet loss rate
Packet loss rate is a measure of network congestion, expressed as a percentage of packets lost with respect to packets sent. A channel’s packet loss rate drives the SRT latency and bandwidth overhead calculations and can be extracted from iperf statistics.
If using iperf is not possible, set up a test SRT stream, and then use the resent bytes / sent bytes reported on the SRT stream’s statistics page over a 60 second period to calculate the packet loss rate as follows:
Packet loss rate = resent bytes ÷ sent bytes * 100
#3. Calculate the RTT multiplier and bandwidth overhead values
The RTT multiplier is a value used in the calculation of SRT latency. It reflects the relationship between the degree of congestion on a network and the RTT. The bandwidth overhead is the portion of the total bandwidth of a stream that is required for the exchange of SRT control and recovered packets.
It’s worth noting that the range of the RTT multiplier is from 3 to 20. Anything below 3 is too small for SRT to be effective and anything above 20 implies a network with 100% packet loss.
Find the RTT multiplier and bandwidth overhead values that correspond to your measured packet loss rate using the table below:
#4. Calculate SRT Latency
Determine your SRT latency value using the following formula:
SRT latency = RTT multiplier * RTT
If RTT < 20ms, use the minimum SRT latency value in the table above.
#5. Measure the nominal channel capacity
Using the iperf utility measure the nominal channel capacity available to the SRT stream.
If iperf does not work or is not available, set up a test SRT stream and use the max bandwidth or path max bandwidth value from the statistics page.
#6. Determine the stream bitrate
The steam bitrate is the sum of the video, audio, and metadata essence bit rates, plus an SRT protocol overhead. It must the following constraint:
Channel capacity > SRT stream bandwidth * (100 + bandwidth overhead) ÷ 100
If this is not respected, then the video/audio/metadata bitrate must be reduced until it is respected. It’s recommended that a significant amount of headroom be added to cushion against varying channel capacity, so a more conservative constraint would be:
0.75 * channel capacity > SRT stream bandwidth * (100 + bandwidth overhead) ÷ 100
#7. Verify that the SRT stream has been set up correctly
The best way to determine this is to set up a test SRT stream and look at the SRT send buffer graph on the statistics page of the source device. The send buffer value should never exceed the SRT latency bound. If the two plot lines are close, increase the SRT latency.


